Bat Rep 2 - The Brave and the Bold vs Jack's Legion of Doom.


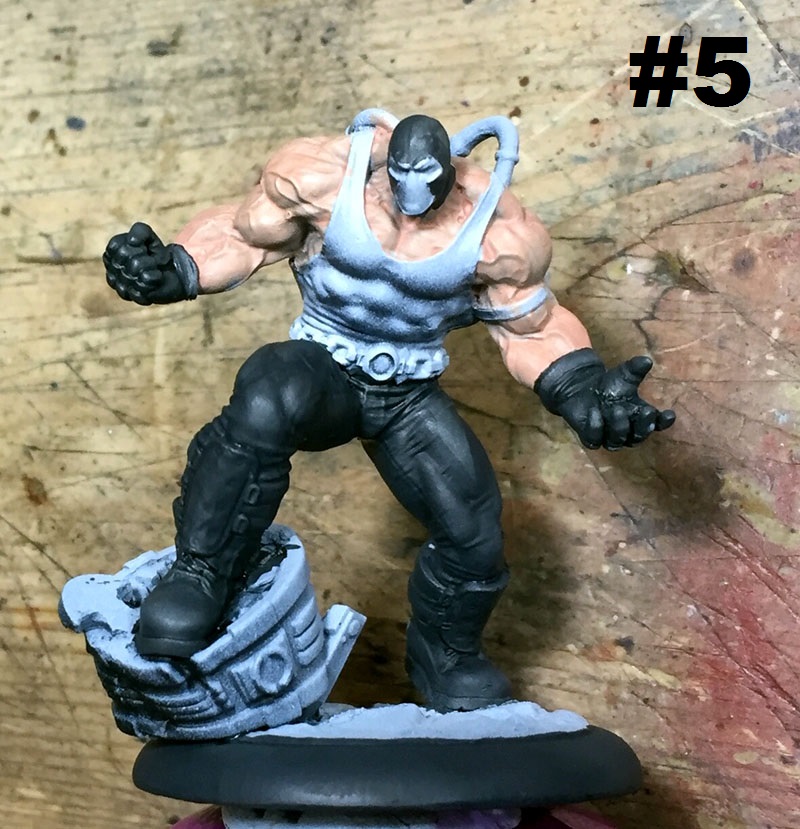
Andy's crew was comprised of: Batman with an Upgraded Batsuit and Kevlar Cowl, Gordon with Heliport, Arkham Guard 1, Arkham Guard 3 with Sergeant Training, Foxtrot, Lerida with Extra Magazine, and Sierra. For his Strategies Andy took; Patrol, Rapid Response Training and I Am the Night with the Bat-signal, Ammunition and Medical Supplies as his objectives.


Here we are for the second in our series of Battle Reports. This time its my Legion of Doom vs Andy's The Brave and The Bold crew, a rematch for us after our last game in which I scraped a narrow victory. This time Andy and I were actually at my tournament at Dark Sphere Waterloo in London, having intended to take part. Unfortunately we were both still recovering from different illnesses and couldn't handle 3 consecutive games and I was having to TO so instead we decided to sit down and have ourselves a rematch while we had the chance.
The board was setup for our Joker Funland and is one of my favourites. The terrain is almost entirely Knights of Dice (which i purchased in a bundle deal from Shiny Games here in the UK) with some scatter terrain from Multiverse Gaming Terrain and Impudent Mortal on there too. The game mat is the Gotham Game Mat from Deep Cut Studios.


The Crews.
The scenario for our game was a straight up skirmish to keep things simple (and it was what the other tournament players were doing). I had my Legion of Doom with me which I was in fact using the Society of Super Villains team to create. I took Reverse Flash as my team Boss and with him Black Manta, Captain Cold and Heatwave. For objectives I took Medical Supplies, Ammunition and Titan for maximum points potential and for my strategies I took Change of Plans, Misinformation, and lastly Fake Objective.


The Setup.
We quickly began with the Sewers, Lampposts, crew placement and the objectives. I setup Thawn and Captain Cold on the far left under the Ferris Wheel ready to move up to my objectives (with Snart covering Thawn with his cold gun). I then placed Manta and Heatwave on the right behind the Whiplash Bumper Cars ready to counter Batman.

Andy set up his crew similarly, presumably to counter my push for the objectives. He placed Gordon and three men on his right by the duck hunt and then Batman and the other two by the carousel on his left.

The Game.
In Turn 1 I took the lead, but before we started the turn it was time for the Speed Force phase in which I used some Super Speed to move up to the objectives and then used Kinetic Tornado to do 2 stun damage and a push on Foxtrot and Arkham Guard 3. When it came to my first activation I passed to Andy who used it to move Arkham Guard 1 down the flank towards his objectives.
I then moved Manta and took a shot at Batman with his Death Ray and missed. Foxtrot then moved up to contest my objectives so I responded by moving Thawn onto the nearby Titan. Andy then shot at Thawn (missed) and moved Arkham Guard 3 to contest the Titan. Heatwave re-positioned behind cover to await the Batman and Sierra moved in and attacked Thawn but was blocked.
I moved Captain Cold and took a lucky shot at Arkham Guard 3 doing 2 much needed blood damage before Andy finally moved Batman and throw some Batarangs Manta's way both of which missed their mark. Lerida opened up on Thawn but between misses and dodges they hit nothing but air, finally this left Gordon who throw a Heliport Shot at Manta for 2 blood and then fired his pistol at Thawn for good measure but missed. This brought turn 1 to a close meaning I could use my Misinformation strategy to move and objective and I chose to move Andy's Bat-Signal.


Turn 2 kicked off with Andy using his I am the Night strategy to move Batman and then he grabbed the lead for the turn as well. I used the Speed Force to move Thawn and throw another Kinetic Tornado at Andy's guys KO'ing Arkham Guard 3. Andy didn't waste any time and went straight in with Batman and rained down punches on Heatwave, but suffered from a little Batwhiff and only managed to get 2 on him for 4 stun. I then sent Manta in and made 4 attacks on the Bat, but I also whiffed my dice managing a grand total of 1 blood and 1 stun damage.
Andy then activated one of my least favourite models to see on the other side of the table, Commissioner Gordon. Gordon let loose with both his Heliport and Hidden Sniper shots on Captain Cold but somehow my luck held and I took no damage. This was followed by Captain Cold hitting Foxrot with both shots and KO'ing him to which Andy responded by laying 4 blood on Manta with Lerida. Heatwave then took a few steps back and put some fire on the Batman. End of round 2 and it was still anybodies game.


Andy hit back laying down fire on Captain Cold with Gordon's Heliport and Hidden Sniper again, and this time doing some damage but not enough to KO him. I was getting amazing luck these last 2 turns I was becoming increasingly anxious it was going to turn after this. Captain Cold then let rip on Sierra and knocked him out while Andy's Arkham Guard 1 moved onto his Medical Supplies objective. Thawn moved over to Sierra and finished what Cold had started by taking him out with a Coup De Grace spped punch to the face. Andy ended the round by taking the Ammunition objective.


We quickly kicked off turn 6, (so quick in fact we forget to take any pictures of turn 5), and I got the lead for the final round. For the final Speed Force phase I did the same as last round hoping to dish out a little more damage with Thawn. The round was a quick one, Heatwave having recovered moved up towards the objectives as I couldn't think of much else to do with him but try and keep him out of Lerida's sights as the game was going to be close on points. I moved Captain Cold onto the Ammunition and Medical Supplies objectives, Andy kept his guys on their objectives and I got the ultimate revenge on Gordon by beating him to death with Thawn who then moved onto the Titan objective where the game ended.


In Turn 1 I took the lead, but before we started the turn it was time for the Speed Force phase in which I used some Super Speed to move up to the objectives and then used Kinetic Tornado to do 2 stun damage and a push on Foxtrot and Arkham Guard 3. When it came to my first activation I passed to Andy who used it to move Arkham Guard 1 down the flank towards his objectives.
I then moved Manta and took a shot at Batman with his Death Ray and missed. Foxtrot then moved up to contest my objectives so I responded by moving Thawn onto the nearby Titan. Andy then shot at Thawn (missed) and moved Arkham Guard 3 to contest the Titan. Heatwave re-positioned behind cover to await the Batman and Sierra moved in and attacked Thawn but was blocked.
I moved Captain Cold and took a lucky shot at Arkham Guard 3 doing 2 much needed blood damage before Andy finally moved Batman and throw some Batarangs Manta's way both of which missed their mark. Lerida opened up on Thawn but between misses and dodges they hit nothing but air, finally this left Gordon who throw a Heliport Shot at Manta for 2 blood and then fired his pistol at Thawn for good measure but missed. This brought turn 1 to a close meaning I could use my Misinformation strategy to move and objective and I chose to move Andy's Bat-Signal.


Turn 2 kicked off with Andy using his I am the Night strategy to move Batman and then he grabbed the lead for the turn as well. I used the Speed Force to move Thawn and throw another Kinetic Tornado at Andy's guys KO'ing Arkham Guard 3. Andy didn't waste any time and went straight in with Batman and rained down punches on Heatwave, but suffered from a little Batwhiff and only managed to get 2 on him for 4 stun. I then sent Manta in and made 4 attacks on the Bat, but I also whiffed my dice managing a grand total of 1 blood and 1 stun damage.
Andy then activated one of my least favourite models to see on the other side of the table, Commissioner Gordon. Gordon let loose with both his Heliport and Hidden Sniper shots on Captain Cold but somehow my luck held and I took no damage. This was followed by Captain Cold hitting Foxrot with both shots and KO'ing him to which Andy responded by laying 4 blood on Manta with Lerida. Heatwave then took a few steps back and put some fire on the Batman. End of round 2 and it was still anybodies game.


I took the lead for Turn 3, yet again on the Speed Force I used Thawn's Kinetic Tornado but this time I gave him Muscle Growth and Fast Combo so I could fight if needed. For my first activation I used the very nearly dead Manta to Death Ray and leg it into a Sewer hoping to stop him from getting killed for a turn. Andy then went with the injured Batman and again only did minimal damage on Heatwave getting in only a single wounding hit for 2 more stun. I then backed Heatwave up and let rip with the Flamethrower which Knocked him out.

Andy hit back laying down fire on Captain Cold with Gordon's Heliport and Hidden Sniper again, and this time doing some damage but not enough to KO him. I was getting amazing luck these last 2 turns I was becoming increasingly anxious it was going to turn after this. Captain Cold then let rip on Sierra and knocked him out while Andy's Arkham Guard 1 moved onto his Medical Supplies objective. Thawn moved over to Sierra and finished what Cold had started by taking him out with a Coup De Grace spped punch to the face. Andy ended the round by taking the Ammunition objective.


Turn 4 kicked off with Andy taking the lead. In the Speed Force phase Thawn moved over to Gordon with a Super Speed and got fight ready again with Fast Combo. Andy went straight in with Gordon and hit Captain Cold with his Heliport shot which finally KO'ed him, he then fired his Hidden Sniper at Black Manta killing him. Good round for Andy so far, I feared my luck had finally turned. I tried to get back on track by Fast Combing Gordon with Thawn which resulted in a Knock Down but not a Knock Out unfortunately leaving the issue undecided for now. Lerida then opened up on Heatwave but missed, (my luck was not entirely gone it seemed), and Heatwave finished off the Batman with a final spray of his Flamethrower.


Turn 5, Andy gets the lead, not good for me so far. Speed Force phase and I went for Muscle Growth and Fast Combo again so I could try and finish off Gordon. Yet again the constant thorn in my side strikes and Gordon orders a shot from his ever present helicopter support KO'ing Heatwave. What had been good for me was that Captain Cold had recovered from his KO and was back in the fight this turn. I activated him and took a shot at Sierra which hit and killed him finally, leaving my objectives open. Andy finally got to his Bat-signal and turned it on with Lerida and Arkham Guard 1 stayed on the Medical Supplies. I ended the turn by finally KO'ing Commissioner Gordon with Thawn, (and it was sweet).
We quickly kicked off turn 6, (so quick in fact we forget to take any pictures of turn 5), and I got the lead for the final round. For the final Speed Force phase I did the same as last round hoping to dish out a little more damage with Thawn. The round was a quick one, Heatwave having recovered moved up towards the objectives as I couldn't think of much else to do with him but try and keep him out of Lerida's sights as the game was going to be close on points. I moved Captain Cold onto the Ammunition and Medical Supplies objectives, Andy kept his guys on their objectives and I got the ultimate revenge on Gordon by beating him to death with Thawn who then moved onto the Titan objective where the game ended.


End of the game and final score without the scenario points was 41 points to my Society crew and 42 points to Andy's Brave and the Bold. But, with the scenario I got an additional 5 victory points which gave me another very narrow victory. It was a damn close one and each game we play Andy is closing the gap. I will need to keep improving my own game or soon enough im going to be looking at some serious ass kickings coming my way. Yet again Andy's poor luck was to my advantage not that mine was that much better at times. Next time me and Andy clash will be while demo'ing the game at Salute so as always....
- The Wizard shall return with more Bat reps in the near future.